Your cart is currently empty!
Easy Same Day Sourdough Pizza Dough
This homemade sourdough pizza dough is simple, flavorful, and delivers the perfect balance of a crisp bottom and chewy bite. Made with just four ingredients and no commercial yeast, it’s slow-fermented for that signature tang and texture. Whether it’s family pizza night or a weekend treat, this dough is the perfect base for all your favorite toppings.
There’s something incredibly satisfying about making your own pizza dough from scratch—especially when it’s made with sourdough. Not only does it fill your kitchen with the most amazing aroma, but it also delivers unbeatable flavor and texture. My homemade sourdough pizza dough is tangy, chewy on the inside, crisp on the outside, and the perfect base for any toppings you love.
This recipe has been a labor of love in my kitchen, evolving over time until it hit just the right balance of simplicity and taste. If you’ve got a sourdough starter hanging out in your fridge, this is the perfect way to put it to good use. And don’t worry—this dough is beginner-friendly with just a bit of planning ahead.
What You’ll Love About This Dough
Minimal ingredients: Just flour, water, and salt! My favorite kind of recipes are ones that require minimal ingredients
Flexible schedule: Make it in the morning and let it rise throughout the day.
Crispy & chewy texture: Thanks to the slow fermentation and hot baking method.
Perfect for all toppings: Classic margherita, veggie-loaded, or pepperoni supreme, the sky is the limit with this dough!
Why Sourdough?
Sourdough naturally ferments, which gives the dough its signature tangy flavor while also improving digestibility. Unlike store-bought doughs or yeasted versions, sourdough develops a deep, complex flavor that makes every bite memorable. It’s also a great way to make use of your starter in a savory, creative way.
Tips for Success
Use a strong, active starter: Make sure your sourdough starter is bubbly and active before mixing your dough. This ensures that your dough will have ample rise and gives it the fluffy texture inside that we all crave.
Plan ahead: This dough takes time to rise and develop its flavor, so give it the time it needs. With sourdough, you never want to rush the process. Under-fermented dough will be dense and flat, with a slightly acidic taste, so it is important to watch your dough and ensure it at least doubles in size during bulk fermentation.
Use a pizza stone or steel if you have one: It helps create that golden, crisp crust we all love! I also love making this dough in a cast iron skillet for a mouthwatering deep-dish pizza. If you don’t have either, don’t worry! Baking on a lined baking sheet will still give you a crispy, golden crust! Here’s my favorite pizza stone to use with this recipe: Pizza Stone
My Favorite Way to Enjoy It
Once baked, this dough is the perfect blank canvas. We love a classic combo of tomato sauce, fresh mozzarella, basil, and a drizzle of olive oil. But the options are endless—white sauce, roasted veggies, BBQ chicken… this dough can handle it all, and your imagination is the limit!
My daughter loves pizza night because it’s a great way to get her involved in the kitchen with me! I always cut a small piece of dough off and let her shape and build her own personal pizza, making for memorable and fun moments in the kitchen.
Ingredients
Sourdough Starter: Your sourdough starter is the heart of this recipe—it’s what gives the dough its rise and signature tangy flavor. An active starter contains wild yeast and beneficial bacteria that naturally leaven the dough and create the chewy, airy texture we love in a good pizza crust. Make sure it’s bubbly and recently fed for best results.
Water: Water activates the flour and helps form the dough. The hydration level here (roughly 54%) creates a soft, slightly sticky dough that’s easy to stretch and perfect for achieving a crispy bottom and chewy middle when baked.
Bread Flour: Bread flour has a higher protein content than all-purpose flour, which means more gluten. This extra gluten gives the dough structure, chew, and elasticity—key for stretching your pizza base without tearing it and creating that signature chewy bite.
Salt: Salt enhances the flavor of your dough and also helps control the fermentation process. It strengthens gluten bonds and moderates the activity of the sourdough culture, so your dough doesn’t overproof or taste too sour.
Directions
Feed Starter
Step 1: The night before baking, feed your sourdough starter so it’s active and bubbly by morning. I generally add about 150g of AP flour and 135g of water to 50g of unfed starter, or until it reaches a pancake batter consistency.
Mix Dough
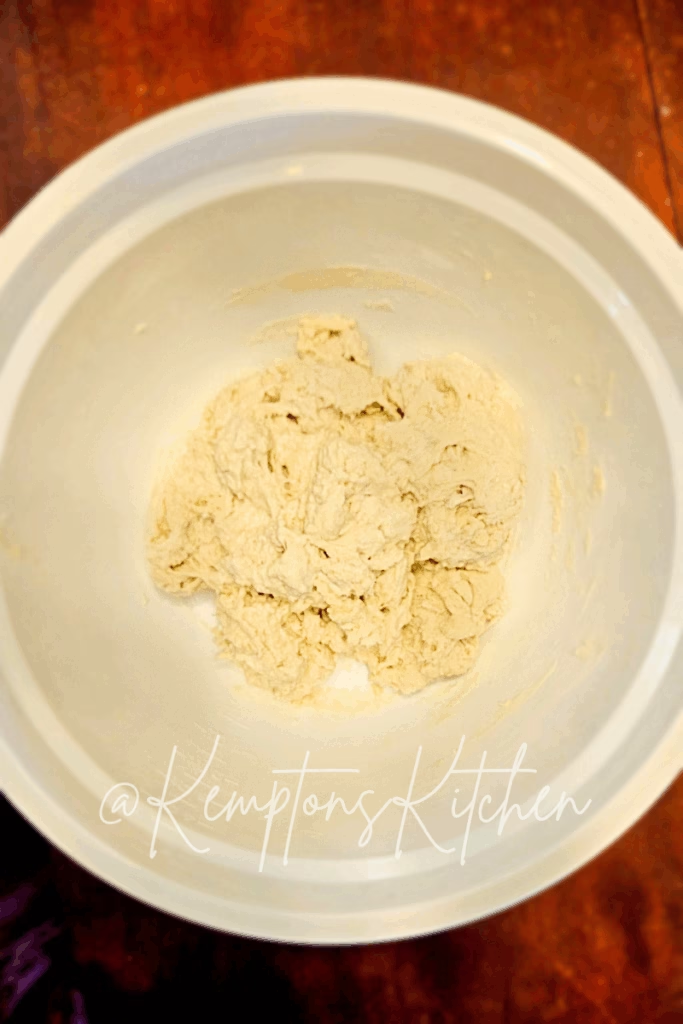
Step 2: In a large mixing bowl, add the water and sourdough starter and stir with a Danish Dough Wisk until fully combined. I like to do this step first to that the starter fully disperses into the water. Then, add in the bread flour and salt. Stir again until you see no dry patches. The dough will be soft and slightly shaggy.
Step 3: Transfer the dough to the bowl of a stand mixer (my favorite, budget friendly mixer!), fixated with the dough hook attachment and knead on medium-low speed for roughly 5-7 minutes. You will know that the dough is done when it pulls away from the bowl to form a ball around the dough hook and is smooth. If kneading by hand, this will take roughly 10 minutes.
Bulk Ferment
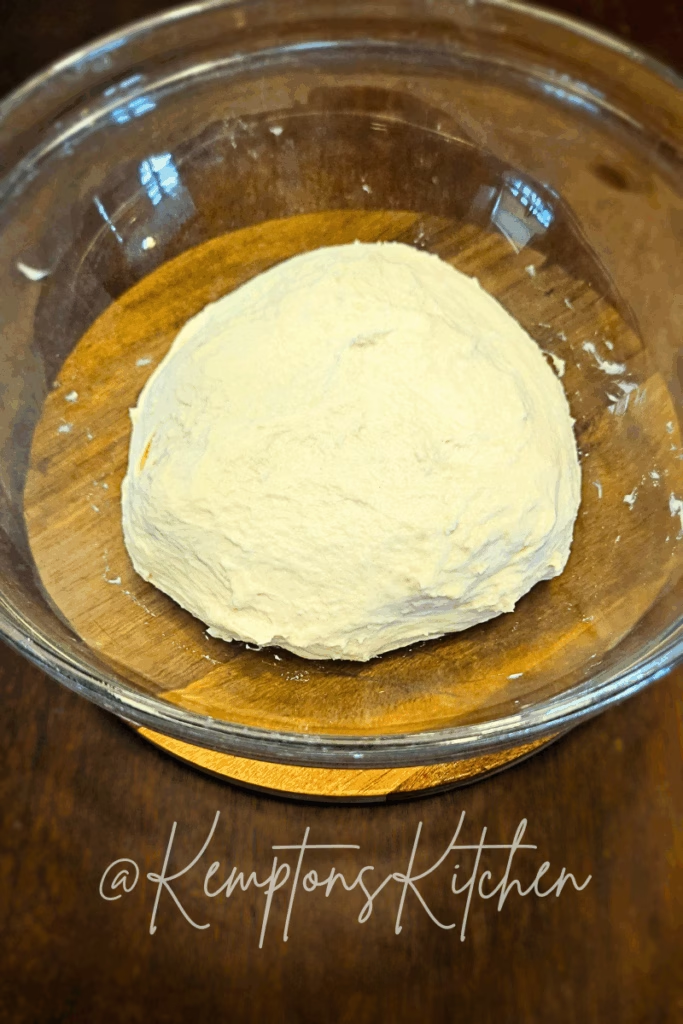
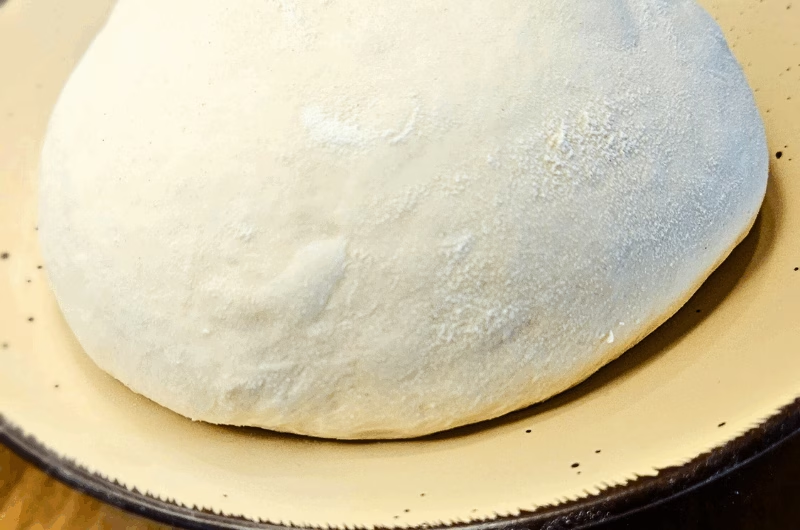
Step 4: Place the dough into a clean, lightly oiled bowl. Cover with a towel or plastic wrap and let rise in a warm spot for 4–6 hours, or until it has doubled in size. Don’t rush this step! Bulk fermentation times are dependent on environmental conditions such as heat and humidity.
Shape/Second Rise
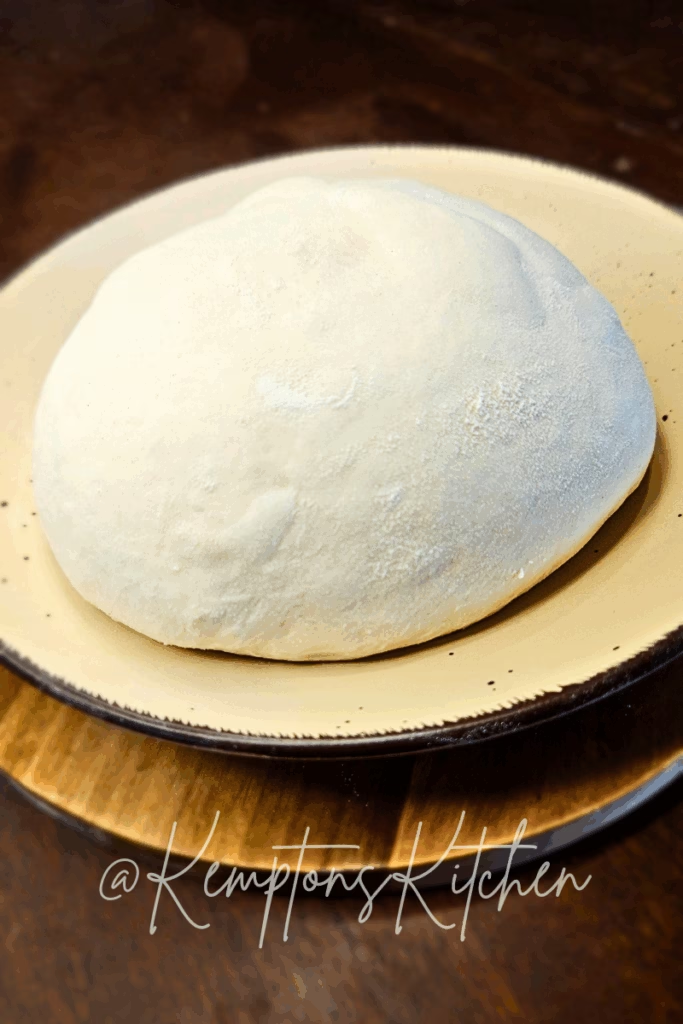
Step 5: Turn the dough out onto a lightly floured surface. Shape into a ball by pushing dough away from you and then pulling it back while tucking the edges underneath to create surface tension. Let rest, covered, for 1 more hour at room temperature.
Pre-heat and Prep
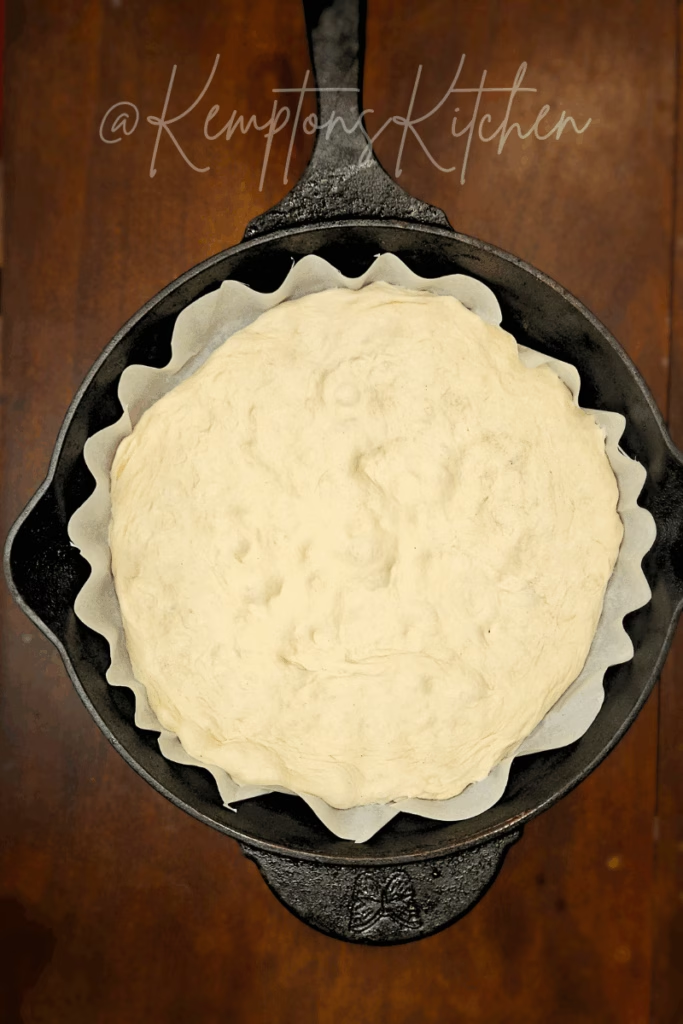
Step 6: Preheat your oven to 450°F (232°C) about 30 minutes before baking. Shape the dough into your preferred pizza shape and transfer to a pizza stone, lined baking sheet, or preheated cast iron skillet.
Bake
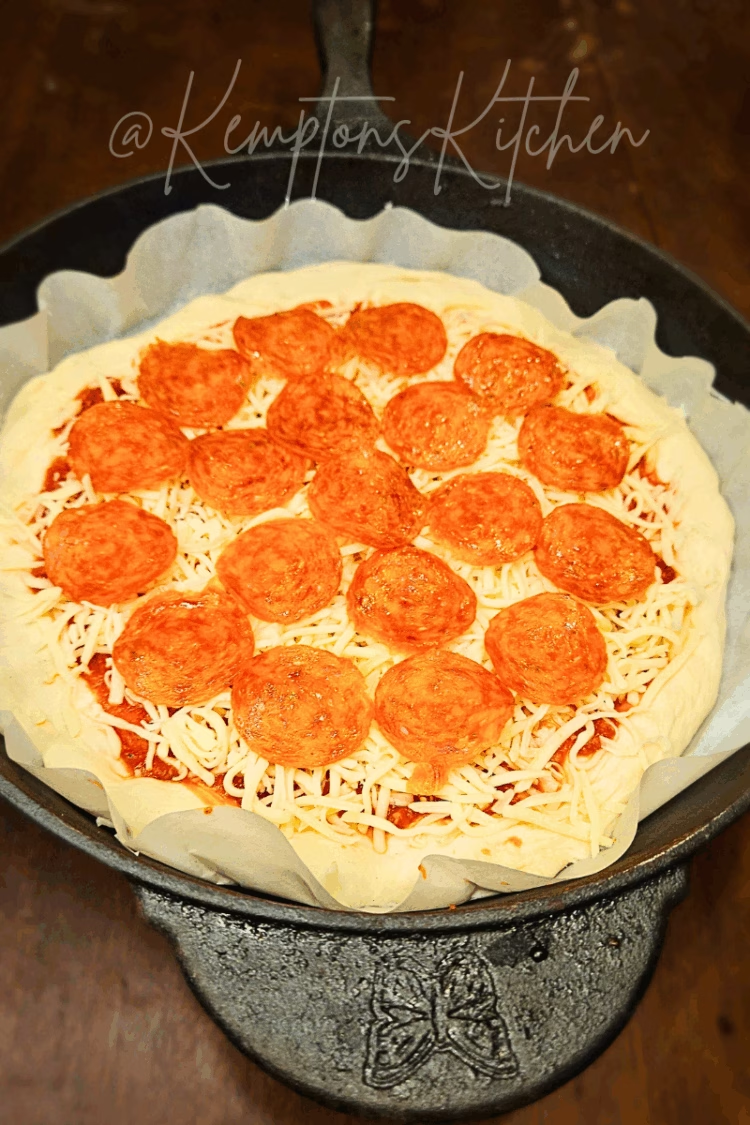
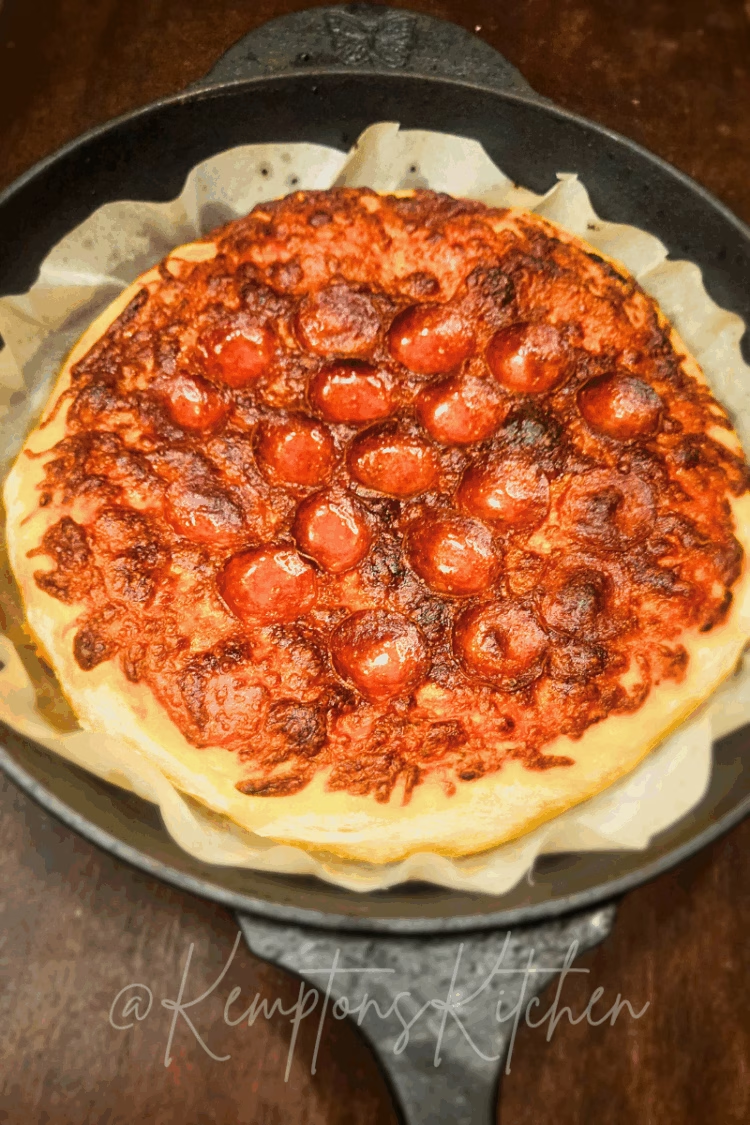
Step 7: Add your favorite sauce, cheese, and toppings. Bake for 25–30 minutes, or until the crust is golden and crisp and the cheese is bubbling. Let cool for 5 minutes, slice, and enjoy!
Frequently Asked Questions
Can I make this dough ahead of time?
Yes! After the first rise, you can refrigerate the dough overnight or up to 24 hours. Just let it come back to room temperature for 1–2 hours before shaping and baking.
What if my sourdough starter isn’t very active?
If your starter isn’t bubbly and doubling in size within 4–6 hours of feeding, it might not be strong enough to leaven the dough properly. Give it a few feedings at room temperature before using it in this recipe.
Why is the dough so sticky?
Sourdough dough can feel stickier than yeast-based doughs. Try lightly flouring your hands and work surface as needed. Avoid adding too much extra flour—stickiness is normal!
Can I freeze the dough?
Absolutely! After the first rise and shaping into a ball, wrap the dough tightly and freeze for up to 3 months. Thaw overnight in the fridge, then bring to room temperature before using.
How do I know if my dough is done rising?
Look for dough that has doubled in size and feels airy and soft when gently pressed. If you poke it and the indentation slowly springs back, it’s ready!
Do I have to use a stand mixer?
Nope! You can knead by hand—it just takes a bit more time and effort (about 10–12 minutes). You’re looking for a smooth, elastic dough that passes the “windowpane test.”
Can I use all-purpose flour instead of bread flour?
Yes, but the texture will be a bit different. Bread flour creates a chewier crust, while all-purpose flour will be a little softer and less stretchy. Still tasty, though!
Do I need a pizza stone or special pan?
Not at all. A regular baking sheet works just fine! A preheated cast-iron skillet or pizza stone can help achieve a crispier crust, but it’s optional.
Be sure to let me know what you think in the comments! Don’t forget to subscribe to stay in the know about new recipes and cooking tips!
Easy Same Day Sourdough Pizza Dough
Course: Dinner, LunchDifficulty: ModeratePrep time
6
hoursCooking time
30
minutesCalories
167
kcalThis homemade sourdough pizza dough is a total game-changer—chewy, crisp, and full of that signature tangy flavor only sourdough can deliver.
Ingredients
200g Sourdough Starter, active and bubbly
180g Water
330g Bread Flour
9g Salt
Directions
- The Night Before
- Feed sourdough starter before going to bed, to ensure it is active and bubbly by morning.
- Make Dough
- In a large bowl, add water and sourdough starter. Using a Danish Wisk or wooden spoon combine water and starter until the starter has fully combined.
- In the same bowl, add bread flour and salt and mix again until fully incorporated, or you no longer see any wet flour. This will be a slightly shaggy dough.
- Transfer shaggy dough to the bowl of a stand mixer with a dough hook attachment and knead dough for about 5-7 minutes. The dough should pull away from the bowl, form a ball-like shape around the hook, and be elastic and smooth.
- Bulk Ferment
- Transfer dough to a large bowl and allow to rest until dough has at least doubled in size. This generally takes roughly 4-6 hours and is dependent on the warmth of your house. I suggest placing dough in the warmest part of your kitchen, or in an empty oven with JUST the light on.
- 2nd Rise
- Once your dough has doubled in size and is noticeably puffy, turn it out on a floured surface and shape the dough into a smooth ball by pushing the dough away from you and pulling it back in while tucking the end underneath. This creates tension in the dough. Cover the dough and allow to rest for another hour on the counter.
- Baking
- Once your dough has finished it’s second rise, preheat the oven to 450°F. Stretch and shape dough into your preferred shape, and place on a pizza stone, lined baking tray, or cast-iron pan. Top with your favorite toppings and bake for about 25-30 minutes, or until the top is bubbly and crisp and the bottom is fully cooked.
- Let sit for 5 minutes and then cut and serve!
Nutrition Facts
8 servings per container
- Amount Per ServingCalories167
- % Daily Value *
- Total Fat
0.74g
2%
- Saturated Fat 0.1g 1%
- Cholesterol 0mg 0%
- Sodium 438mg 19%
- Total Carbohydrate
34g
12%
- Sugars 0.13g
- Protein 5g 10%
- Iron 2%
* The % Daily Value tells you how much a nutrient in a serving of food contributes to a daily diet. 2,000 calories a day is used for general nutrition advice.

Hi! I’m Angela!
Welcome to Kempton’s Kitchen — Home-cookin’ with a kick! Mama K is the flavor-loving heart behind bold, comforting recipes that bring folks together—one sizzling skillet at a time. With a pinch of tradition, a dash of creativity, and a whole lotta bacon, she’s serving up meals that taste like home (with a little extra boom). Whether you’re around the table or behind the grill, Mama K’s here to make sure no one leaves hungry.
Latest Recipes


Search
Category
Subscribe
Get exclusive access to recipes and cooking tips!